Nextcloud et confinement
Nextcloud et confinement
Nous sommes dans une situation particulière avec ce confinement, c’est le moins que l’on puisse. Dans un précédent article j’ai évoqué la visioconférence avec l’outil Jitsi. Maintenant il me semble intéressant de regarder aussi comment échanger des fichiers avec des amis voire des collègues. Nous parlerons donc ici de Nextcloud.
Pourquoi choisir Nextcloud ? Nous citons ici quelques raisons qui me font retenir ce choix :
- la licence AGPL v3 ;
- fonctionne avec Apache ou Nginx ;
- permet d’avoir un client lourd sur ordinateur mais aussi sur les terminaux mobiles pour la synchronisation ;
- fonctionne sous différents systèmes d’exploitation à la fois pour la partie serveur et client ;
- permet de stocker ses propres fichiers ainsi que de les partager avec d’autres utilisateurs ;
- outil que l’on peut installer sur ses propres serveurs ;
- outil que l’on peut aussi fédérer.
Pré-requis avant installation
Avant de procéder à l’installation il est toujours nécessaire de se référer aux pré-requis. Ceux-ci sont donnés à l’adresse suivante : https://docs.nextcloud.com/server/18/admin_manual/installation/system_requirements.html
Pour ma part je suis parti sur une distribution que j’aime bien : Ubuntu Server 18.04 LTS.
Au niveau du serveur de base de données nous utiliserons : MariaDB.
Le serveur web retenu sera : Apache 2.4.
Au niveau de l’espace disque… et bien cela dépend forcément des besoins de stockage dont vous allez avoir besoin.
Pour la RAM : 2 Go est largement suffisant.
Et enfin pour la partie CPU : 1 seul peut suffire.
Installation
Le serveur sera nommera drive.lovetux.net, je vous laisse adapter les configurations par rapport à votre installation.
Vérification du fichier /etc/hosts et /etc/hostname
root@drive:~# cat /etc/hosts
127.0.0.1       localhost
<votre IP> drive.lovetux.net       drive
root@drive:~#
root@drive:~# cat /etc/hostname
drive
root@drive:~#
Installation d’Apache, PHP, MariaDB
apt-get install apache2 mariadb-server libapache2-mod-php7.2 php7.2-gd php7.2-json php7.2-mysql php7.2-curl php7.2-mbstring php7.2-intl php-imagick php7.2-xml php7.2-zip
Téléchargement de la dernière version de Nextcloud
À l’heure où j’écris cet article la dernière version de Nextcloud est la version 18.0.4. La page de téléchargement se trouve ici : https://nextcloud.com/install/#instructions-server
cd /root
wget -c https://download.nextcloud.com/server/releases/nextcloud-18.0.4.tar.bz2
Configuration de MariaDB
Nous allons d’abord sécuriser l’installation de MariaDB :
mysql_secure_installation
Ce programme interactif vous pose quelques questions comme :
- le mot de passe root pour le SGDB ;
- les connexions anonymes ;
- suppression de la base de test ;
- désactiver le mot de passe root à distance.
Nous allons en profiter pour créer une base de données appelée nextcloud ainsi qu’un utilisateur pour ce faire nous exécutons les commandes suivantes :
mysql -uroot -p
Puis dans le shell MySQL nous exécutons les commandes suivantes qui permettent de créer une base de données appelée nextcloud, un utilisateur appelé nextcloud et un mot de passe associé :
CREATE USER 'nextcloud'@'localhost' IDENTIFIED BY '<monmotdepasse>';
CREATE DATABASE IF NOT EXISTS nextcloud CHARACTER SET utf8mb4 COLLATE utf8mb4_general_ci;
GRANT ALL PRIVILEGES on nextcloud.* to 'nextcloud'@'localhost';
FLUSH privileges;
quit;
Installation de certbot pour profiter d’un certificat TLS
apt-get install software-properties-common
add-apt-repository universe
apt-get install certbot python-certbot-apache
add-apt-repository ppa:certbot/certbot
Génération du certificat TLS
root@drive:~# certbot certonly --apache
Saving debug log to /var/log/letsencrypt/letsencrypt.log
Plugins selected: Authenticator apache, Installer apache
Enter email address (used for urgent renewal and security notices) (Enter 'c' to
cancel): hindy@lovetux.net

- - - - - - - - - - - - - - - - - - - - - - - - - - - - - - - - - - - - - - - -
Please read the Terms of Service at
https://letsencrypt.org/documents/LE-SA-v1.2-November-15-2017.pdf. You must
agree in order to register with the ACME server at
https://acme-v02.api.letsencrypt.org/directory
- - - - - - - - - - - - - - - - - - - - - - - - - - - - - - - - - - - - - - - -
(A)gree/(C)ancel: A

- - - - - - - - - - - - - - - - - - - - - - - - - - - - - - - - - - - - - - - -
Would you be willing to share your email address with the Electronic Frontier
Foundation, a founding partner of the Let's Encrypt project and the non-profit
organization that develops Certbot? We'd like to send you email about our work
encrypting the web, EFF news, campaigns, and ways to support digital freedom.
- - - - - - - - - - - - - - - - - - - - - - - - - - - - - - - - - - - - - - - -
(Y)es/(N)o: Y
No names were found in your configuration files. Please enter in your domain
name(s) (comma and/or space separated)  (Enter 'c' to cancel): drive.lovetux.net
Obtaining a new certificate
Performing the following challenges:
http-01 challenge for drive.lovetux.net
Enabled Apache rewrite module
Waiting for verification...
Cleaning up challenges

IMPORTANT NOTES:
 - Congratulations! Your certificate and chain have been saved at:
   /etc/letsencrypt/live/drive.lovetux.net/fullchain.pem
   Your key file has been saved at:
   /etc/letsencrypt/live/drive.lovetux.net/privkey.pem
   Your cert will expire on 2020-07-24. To obtain a new or tweaked
   version of this certificate in the future, simply run certbot
   again. To non-interactively renew *all* of your certificates, run
   "certbot renew"
 - Your account credentials have been saved in your Certbot
   configuration directory at /etc/letsencrypt. You should make a
   secure backup of this folder now. This configuration directory will
   also contain certificates and private keys obtained by Certbot so
   making regular backups of this folder is ideal.
 - If you like Certbot, please consider supporting our work by:

   Donating to ISRG / Let's Encrypt:   https://letsencrypt.org/donate
   Donating to EFF:                    https://eff.org/donate-le

root@drive:~#
Tester si le renouvellement de certificat pourra se faire :
root@drive:~# certbot renew --dry-run
Saving debug log to /var/log/letsencrypt/letsencrypt.log

- - - - - - - - - - - - - - - - - - - - - - - - - - - - - - - - - - - - - - - -
Processing /etc/letsencrypt/renewal/drive.lovetux.net.conf
- - - - - - - - - - - - - - - - - - - - - - - - - - - - - - - - - - - - - - - -
Cert not due for renewal, but simulating renewal for dry run
Plugins selected: Authenticator apache, Installer apache
Renewing an existing certificate
Performing the following challenges:
http-01 challenge for drive.lovetux.net
Enabled Apache rewrite module
Waiting for verification...
Cleaning up challenges

- - - - - - - - - - - - - - - - - - - - - - - - - - - - - - - - - - - - - - - -
new certificate deployed with reload of apache server; fullchain is
/etc/letsencrypt/live/drive.lovetux.net/fullchain.pem
- - - - - - - - - - - - - - - - - - - - - - - - - - - - - - - - - - - - - - - -

- - - - - - - - - - - - - - - - - - - - - - - - - - - - - - - - - - - - - - - -
** DRY RUN: simulating 'certbot renew' close to cert expiry
**          (The test certificates below have not been saved.)

Congratulations, all renewals succeeded. The following certs have been renewed:
  /etc/letsencrypt/live/drive.lovetux.net/fullchain.pem (success)
** DRY RUN: simulating 'certbot renew' close to cert expiry
**          (The test certificates above have not been saved.)
- - - - - - - - - - - - - - - - - - - - - - - - - - - - - - - - - - - - - - - -

IMPORTANT NOTES:
 - Your account credentials have been saved in your Certbot
   configuration directory at /etc/letsencrypt. You should make a
   secure backup of this folder now. This configuration directory will
   also contain certificates and private keys obtained by Certbot so
   making regular backups of this folder is ideal.
root@drive:~# cat /etc/crontab
# /etc/crontab: system-wide crontab
# Unlike any other crontab you don't have to run the `crontab'
# command to install the new version when you edit this file
# and files in /etc/cron.d. These files also have username fields,
# that none of the other crontabs do.

SHELL=/bin/sh
PATH=/usr/local/sbin:/usr/local/bin:/sbin:/bin:/usr/sbin:/usr/bin

# m h dom mon dow user  command
17 *    * * *   root    cd / && run-parts --report /etc/cron.hourly
25 6    * * *   root    test -x /usr/sbin/anacron || ( cd / && run-parts --report /etc/cron.daily )
47 6    * * 7   root    test -x /usr/sbin/anacron || ( cd / && run-parts --report /etc/cron.weekly )
52 6    1 * *   root    test -x /usr/sbin/anacron || ( cd / && run-parts --report /etc/cron.monthly )
#
root@drive:~#
Un script en cron est installé automatique pour s’occuper du renew :
root@drive:~# cat /etc/cron.d/certbot
# /etc/cron.d/certbot: crontab entries for the certbot package
#
# Upstream recommends attempting renewal twice a day
#
# Eventually, this will be an opportunity to validate certificates
# haven't been revoked, etc.  Renewal will only occur if expiration
# is within 30 days.
#
# Important Note!  This cronjob will NOT be executed if you are
# running systemd as your init system.  If you are running systemd,
# the cronjob.timer function takes precedence over this cronjob.  For
# more details, see the systemd.timer manpage, or use systemctl show
# certbot.timer.
SHELL=/bin/sh
PATH=/usr/local/sbin:/usr/local/bin:/sbin:/bin:/usr/sbin:/usr/bin

0 */12 * * * root test -x /usr/bin/certbot -a \! -d /run/systemd/system && perl -e 'sleep int(rand(43200))' && certbot -q renew
root@drive:~#
Configuration d’Apache
Notre objectif est d’avoir un serveur Apache qui écoute en HTTP et qui redirige vers HTTPS en utilisant le certificat SSL que nous avons généré plus haut.
root@drive:~# cat /etc/apache2/sites-enabled/drive.lovetux.net.conf
<VirtualHost *:80>
     ServerAdmin admin@example.com
     DocumentRoot /srv/sites/drive
     ServerName drive.lovetux.net

     RewriteEngine on
         RewriteRule ^ https://%{SERVER_NAME}%{REQUEST_URI} [END,NE,R=permanent]

     <Directory /srv/sites/drive>
        Options +FollowSymlinks
        AllowOverride All
        Require all granted
     </Directory>

     ErrorLog /var/log/apache2/drive.lovetux.net.error.log
     CustomLog /var/log/apache2/drive.lovetux.net.access.log combined

</VirtualHost>

<VirtualHost *:443>
     ServerAdmin admin@example.com
     DocumentRoot /srv/sites/drive
     ServerName drive.lovetux.net

     SSLCertificateFile /etc/letsencrypt/live/drive.lovetux.net/fullchain.pem
         SSLCertificateKeyFile /etc/letsencrypt/live/drive.lovetux.net/privkey.pem

     <Directory /srv/sites/drive>
        Options +FollowSymlinks
        AllowOverride All
        Require all granted
     </Directory>

     ErrorLog /var/log/apache2/drive.lovetux.net.error.log
     CustomLog /var/log/apache2/drive.lovetux.net.eaccess.log combined

Include /etc/letsencrypt/options-ssl-apache.conf

</VirtualHost>
root@drive:~#
Nous activons le vhost :
a2ensite drive.lovetux.net
Nous activons différents modules :
a2enmod ssl rewrite
Création du répertoire nextcloud :
mkdir -p /srv/sites/drive
Redémarrage du service apache :
systemctl reload apache2
Nextcloud
Nous copions les fichiers vers le dossier vhost :
cd /root
tar xvfj nextcloud-18.0.4.tar.bz2
mv /root/nextcloud/* /srv/sites/drive
mv /root/nextcloud/.htaccess /srv/sites/drive
Nous changeons les permissions :
chown -R www-data:www-data /srv/sites/drive/
find /srv/sites/drive -type d -exec chmod 750 {} \;
find /srv/sites/drive -type f -exec chmod 640 {} \;
Nous lançons alors notre navigateur web sur https://drive.lovetux.net et nous avons alors un assitant qui nous pose différentes questions :
- nom d’utilisateur qui sera admin de Nextcloud ;
- le mot de passe associé ;
- le dossier data, par défaut nous l’avons laissé dans /srv/sites/drive/data (cela serait un point à améliorer) ;
- le nom de la base de données ;
- le nom d’utilisateur de la base de données ;
- le mot de passe associé ;
- le serveur hébergeant MariaDB (localhost dans notre cas).
Utilisation de Nextcloud
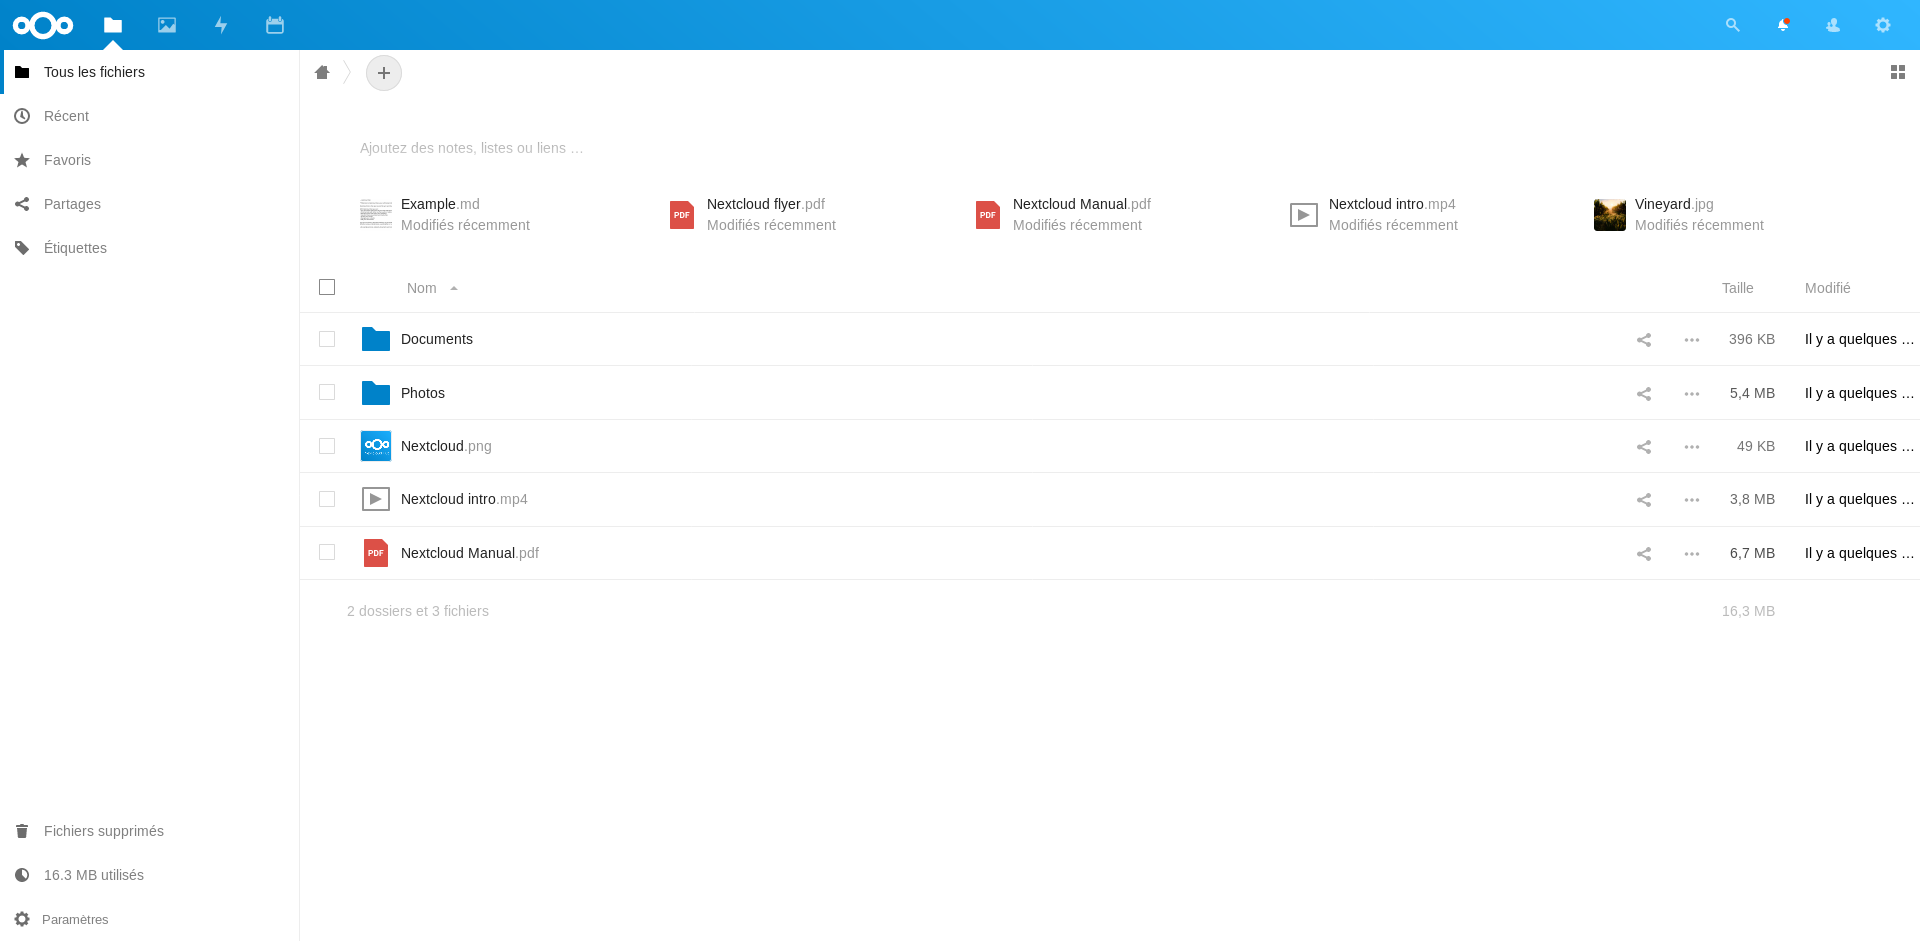
Vous pouvez alors vous connecter à l’aide de votre butineur préféré à l’adresse : https://drive.lovetux.net vous verrez alors la fenêtre suivante :
Vous pouvez alors créer différents utilisateurs en allant sur la page : https://drive.lovetux.net/index.php/settings/users :

Installation du client lourd sur desktop
Que cela soit pour Linux, Windows ou bien MacOS X il existe un programme à installer pour votre système d’exploitation : https://nextcloud.com/install/#install-clients
Installation de l’application mobile
Que vous utilisiez Android ou bien iOS il existe une application mobile que vous pouvez trouver sur le lien suivant : https://nextcloud.com/install/#install-clients